BT PRA - Using Group Names instead of ObjectIDs
How to use group names instead of objectIDs for SAML Security Providers
Panno
Introduction
In this article we will talk about modifying SAML Manifests to allow the use of group names instead of object IDs when configuring a SAML2 security provider in BeyondTrust PRA.
The problem
When using EntraID as an SSO provider (SAML2) it sends GroupIDs instead of names by default and PRA doesn't have a way to reverse lookup the group names after getting the ObjectID from EntraID.
The result can be a very long list of groupIDs that you need to constantly cross-reference with EntraID.
Given that you also need to use these group to manage permissions within the application, it makes it very hard to troubleshoot problems and create new policies.
So what do we do about it?
To make this easier to manage, we can update the SAML Mainfest in EntraID to pass the group name instead of the ObjectID - so let's head over to the Entra.
Before you begin
Before you get started, make sure you have a local breakglass account incase you get locked out of PRA when changing over
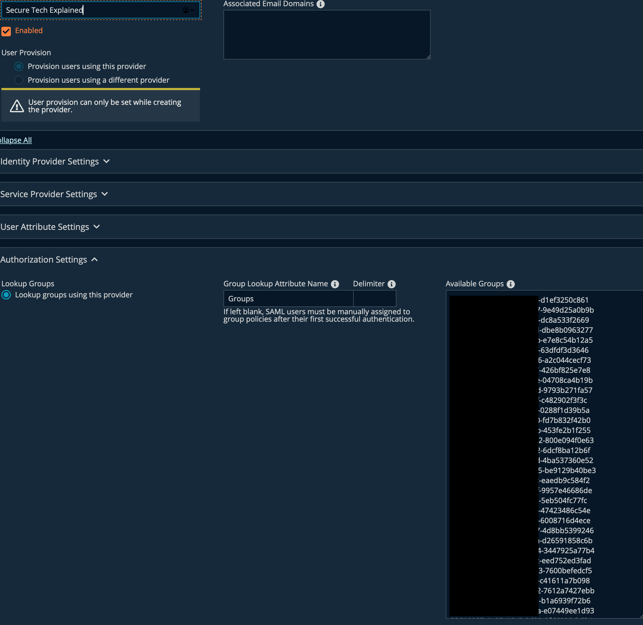
You can prep your environment by adding some of the group display names to the above list and any group policies that might need them.
If you are trying this in a production environment, there might be log in issues while you change over from GroupIDs to Group Names in PRA if you haven't already pre-registered all the group names in PRA before updating the SAML details.
Lets get started
In Entra, you will want to head over to the Application Registration for your instance of PRA. If you're not sure how to find this start at "Enterprise Applications" find your registered PRA application, go to "Manage->Properties" and click on the link for "application registration" just above the toggle for "Enabled for users to sign-in?"
Once you have found your application registration, head to "Manage->Token configuration", if you don't already have a groups claim there, add one by choosing "Add Groups Claim" and choosing "Groups assigned to the application".
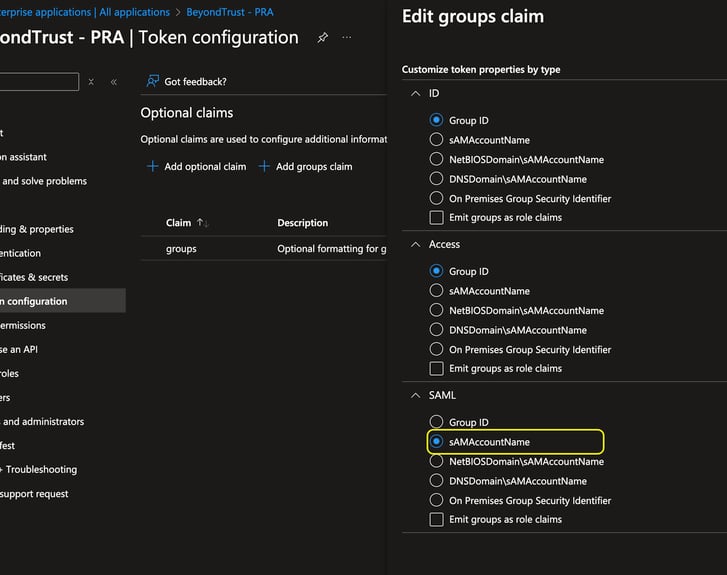
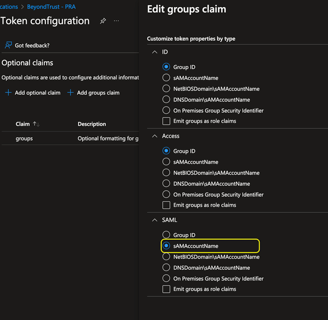
Once you have a group claim available, we can get started, for this to work we have to make a small change to the group claim, this will allow us to manually update the SAML manifest in the next section.
Update the group claim match the below screenshot and hit save. All that we have changed is "Group ID" to "sAMAccountName". Even if you are only using cloud-only groups, we need to make this change so that we can update the SAML manifest next.
Editing the manifest
This is where the main change happens, now that you have updated the SAML Claim, it gives us a new manifest that we can edit and make our own changes to. On the same window for the application registration, click on "Manage->Manifest".
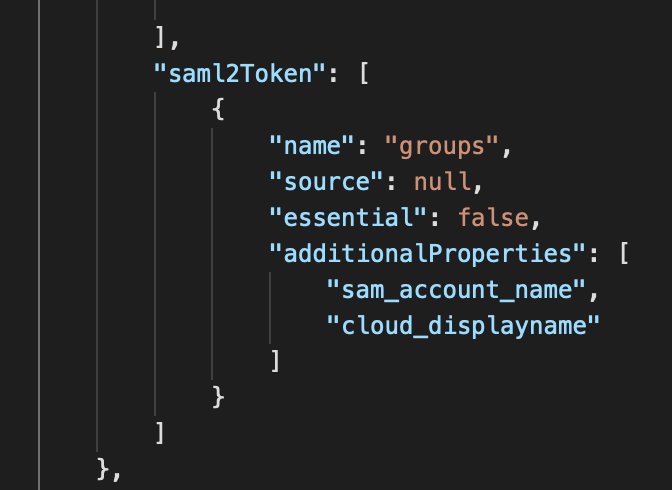
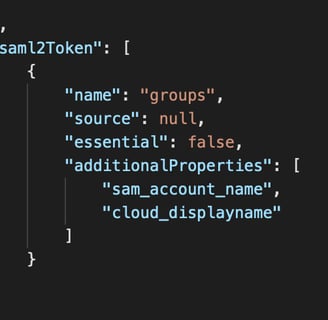
In the JSON payload that appears, scroll down until you find the "saml2Token" header. Under that you will see another header called "additionalProperties", currently it will be set to "sam_account_name", you are going to add a line below that called "cloud_displayname". (You can remove sam_account_name if you are not using any groups that have been sync'd from onPremise)
Final activities
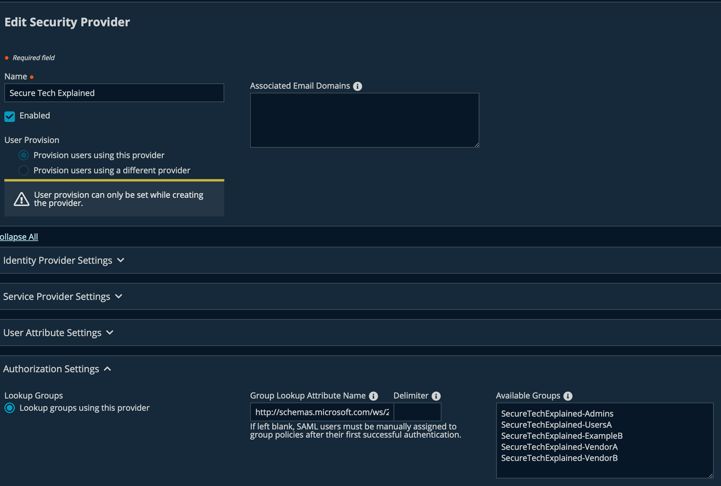
And that's it, PRA will now be able to use group names instead of using the GroupIDs, this will make things much easier to manage and troubleshoot. Now that the SAML2 claim has been updated, you need to ensure that all your groups have been added to PRA, both in the Authorization Settings and Group Policy sections to ensure staff can login and continue to use the application.
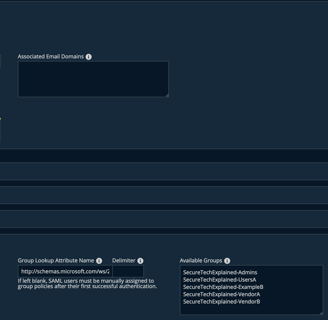
The available groups should look something like this:
Credits
Thanks to Kevin for showing me this trick.
You can find Kevin's LinkedIn here for more tricks and tips.